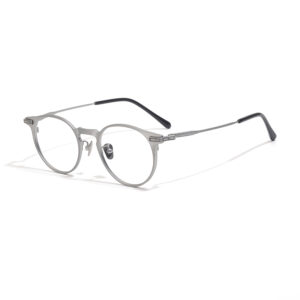
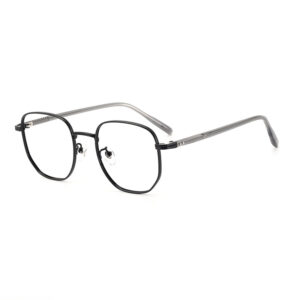
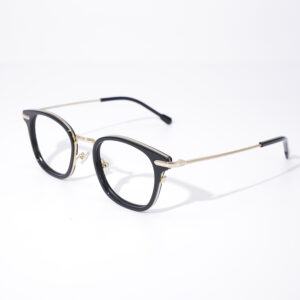
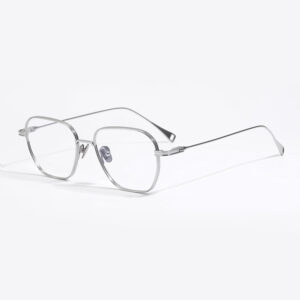
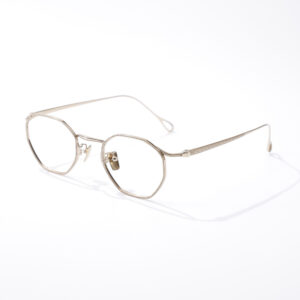
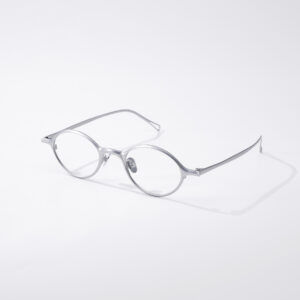
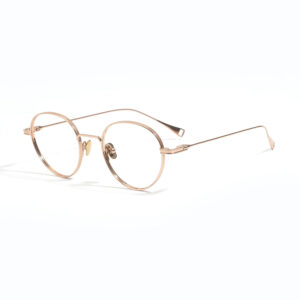
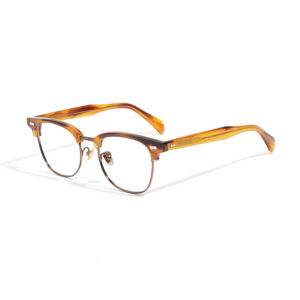
Plastic is a go-to material for making eyewear, and for good reason. Different types of plastic like TR (thermoplastic rubber), ABS (acrylonitrile butadiene styrene), and PC (polycarbonate) each bring something unique to the table. TR is perfect for kids’ frames because it’s flexible and durable—ideal for those rough-and-tumble moments. ABS is often chosen for sports frames thanks to its toughness, making sure your eyewear can take a hit and keep going. And then there’s PC, which is a more budget-friendly option, often used in affordable eyewear and safety goggles.
Plastic eyewear, often called injection eyewear, gets its name from how it’s made. The process involves injecting melted plastic into molds to form the frames. Curious about how it all works? Let’s walk through the entire process, starting from raw plastic pellets all the way to the final product, and I’ll also share some tips on improving the quality along the way.
1. Molding: The Blueprint of Your Frames
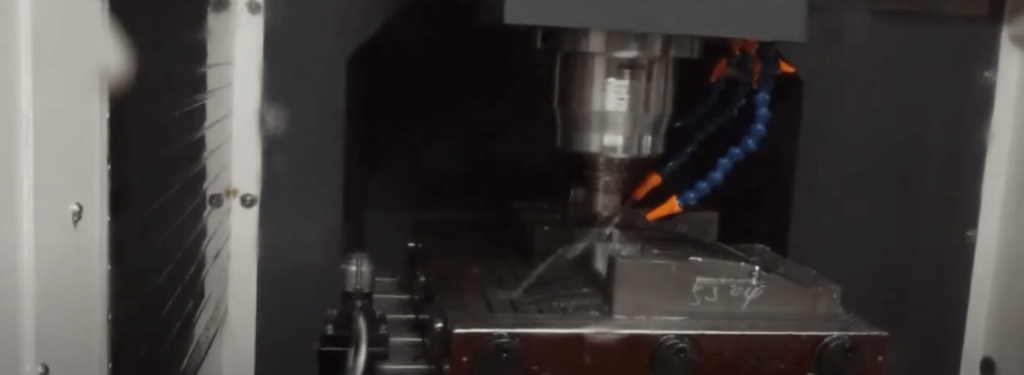
Everything starts with molding. This is where the plastic frames begin to take shape. The injection machines used in this process rely heavily on the precision of the molds, which are basically the blueprint for your frames. The better the mold, the better the final product will be. But here’s the thing: making these molds is the biggest upfront investment in producing injection eyewear. This is why getting the mold just right is so crucial.
To create a set of plastic frames, you need two molds—one for the front of the frame and another for the temples (the arms that rest on your ears). The cost for these molds isn’t cheap. A front mold can cost anywhere from $1,300 to $2,000, depending on how complex the design is. Temple molds are a bit less expensive, running about $1,000 to $1,300 per set.
But it’s not just about the money—it’s also about time. It generally takes 30 to 45 days to make these molds from scratch. And even after the mold is ready, there might be some tweaking needed after testing it out. Plus, regular maintenance is essential to keep the molds in good condition over the long term.
2. Injection Molding: Shaping the Frames
Once the molds are ready, the real magic begins with the injection molding process. This is where those raw plastic pellets get melted down and injected into the molds to create the frames. It sounds simple enough, but there’s more to it than just pushing a button.
For example, when making temples, wire cores are often inserted during the injection process to give the temples added strength and stability.
Now, the key to injection molding is to do it all in one go once the machine is up and running. Why? Because there’s a lot of prep work involved before you can actually start molding. Here’s what needs to be done:
- Cleaning the System: First, you’ve got to clean the feeding system and the mold. Even if you’re using the same material as before, this step can’t be skipped.
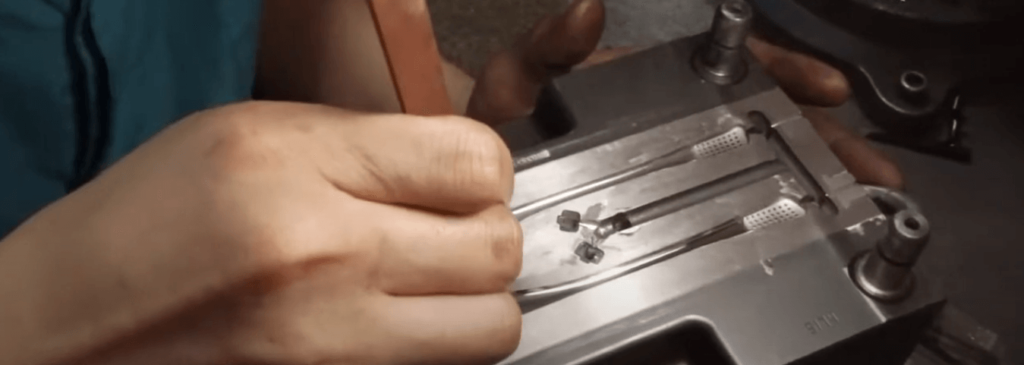
- Installing the Mold: Next, the mold needs to be installed inside the machine. And trust me, this is no small task. These molds are heavy—so heavy that no one can do it alone. It usually takes two or three workers, along with a pulley system, to get the job done.
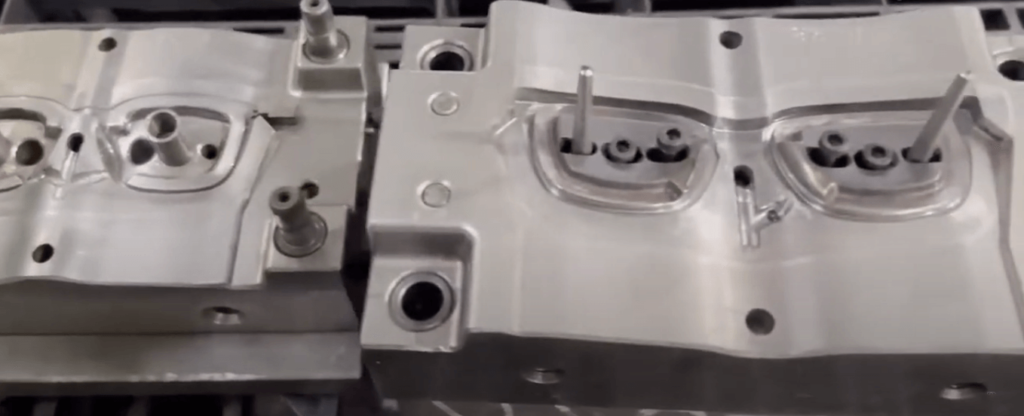
- Setting Up the Machine: Finally, the machine has to be set up with precise parameters like working temperature, injection force, and shaping time. This involves some trial and error to get everything just right.

Because of all this prep work, factories prefer to keep the machine running continuously until the entire model is finished. For large orders, like tens of thousands of frames, this often means working in shifts to keep the production line going around the clock.
3. Polishing: Smoothing Out the Rough Edges
After the frames have been shaped, the next step is polishing. This is where we remove any marks left from the injection process and get the frames ready for coloring.
3.1 Dealing with Injection Joints

When the frames first come out of the mold, the fronts and temples are often still connected by small joints. Separating these parts leaves behind visible marks, so these areas need to be carefully polished to smooth them out.
3.2 Smoothing Joint Lines
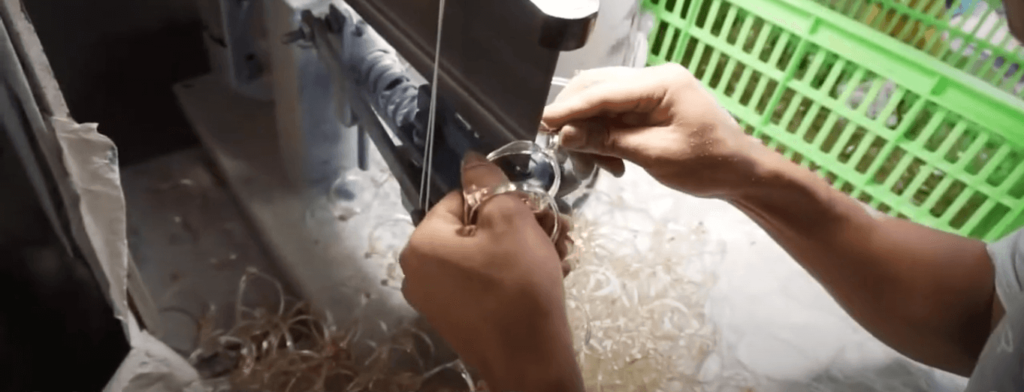
Another thing to deal with is the joint line that runs down the middle of each front or temple. This line is where the two halves of the mold come together. The better the mold, the thinner this line will be, but it’s impossible to avoid completely. The solution is to polish these lines away using fine sandpaper or similar tools.
3.3 Tumbling: The All-Over Polish
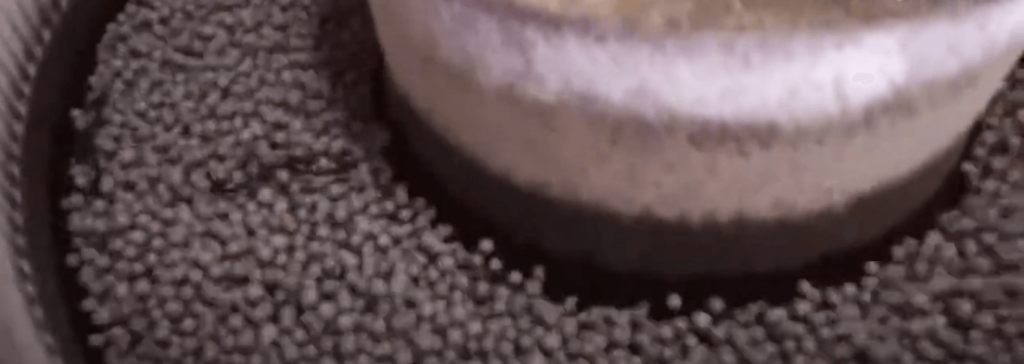
Once the obvious injection marks are smoothed out, the frames go through a process called tumbling. This involves placing the frames in a barrel filled with wood pellets and letting them tumble around. The pellets are specifically designed for polishing plastic eyewear, and they come in different sizes depending on the task at hand.
The tumbling process happens in three stages:
- Rough Tumbling: This is the first stage, where large wood pellets are used to polish the rough edges of the frames. This stage usually takes at least 12 hours to complete.
- Middle Tumbling: The second stage uses medium-sized pellets to get into the smaller areas that the larger pellets can’t reach. This stage typically takes about 36 hours.
- Shiny Tumbling: The final stage is all about giving the frames a shiny, polished finish. This is where the smallest pellets are used, and this stage usually takes about 24 hours.
Timing is crucial for each stage, so it’s important to keep track of how long the frames spend in each part of the process. To manage this, factories often use a system where each barrel is labeled with the model number and start time, and the barrel is set with a timer to ensure that each stage is followed correctly.
The fronts and temples are usually polished separately, and before the temples go through tumbling, any metal hinges are covered with a protective gel. This gel keeps the paint on the hinges from fading during the tumbling process and is removed afterward.
3.4 Hand Polishing: The Finishing Touch

While tumbling is great for polishing the entire frame, some areas require a bit more precision. That’s where hand polishing comes in. Workers use grinding wheels and their keen eye to polish specific spots that need extra attention. Although hand polishing takes longer than tumbling, it provides a superior finish. By combining both methods, you get the best results in terms of both efficiency and quality.
4. Coloring: Bringing Your Frames to Life
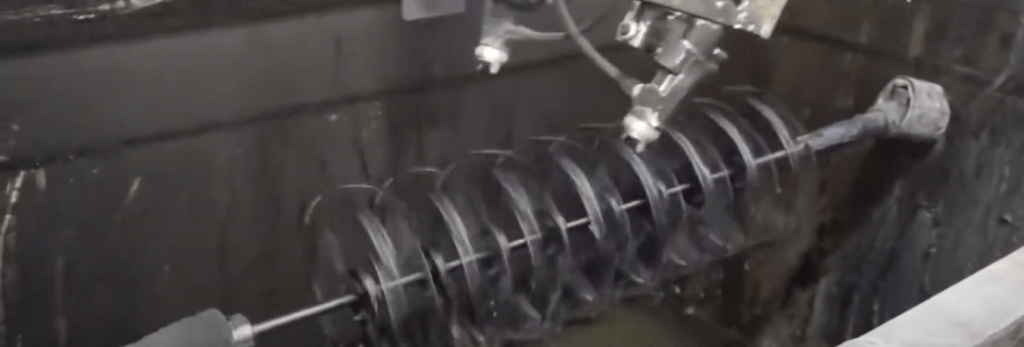
Once the frames are polished and smooth, it’s time to add some color. But before we can start, the fronts and temples need to be assembled so that they can be colored together. This step is important because the only metal parts on the frames—the hinges—need to be covered during the coloring process to preserve their original metal color.
The color of the frames can really set them apart. Unlike acetate frames, where the color is determined by the material itself, the colors for injection frames are practically unlimited thanks to spray painting. This allows for a wide range of colors and finishes, making it possible to create truly unique and vibrant designs.
Receive Custom Guidance
Looking for the perfect custom eyewear to represent your brand?
Reach out to Eyewearbeyond for expert guidance on choosing the best materials, styles, and customizations for your eyewear collection!
5. Packaging and Inspection: The Final Steps
With the frames now colored, we move on to the final steps—cutting the lenses, assembling the frames, and getting them ready for delivery.
5.1 Cutting the Lenses

The lenses come from suppliers in a round shape, with the required base curve already in place. For optical frames, white lenses are typically used, while sunglasses lenses can vary in color and tint. Many buyers prefer to use their trusted lens suppliers to ensure consistency in quality.
5.2 Silk Printing: Adding the Details
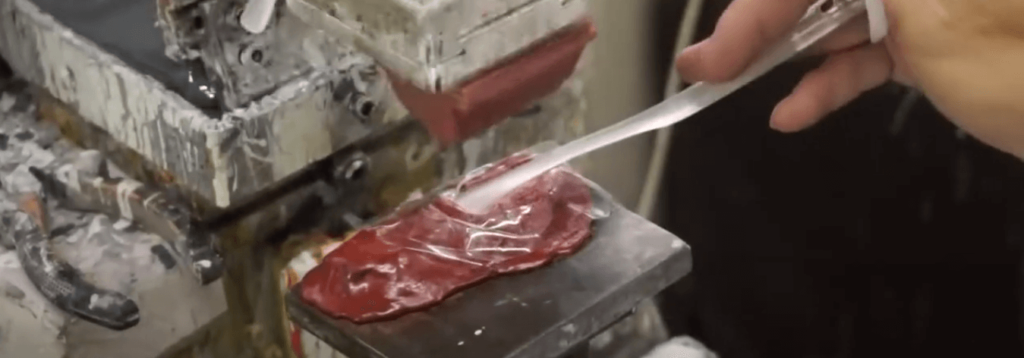
Silk printing is where we add the finishing touches to the frames, like printing the brand name or frame size. The outer side of the optical lens is a perfect spot for branding, while the inner side of the temple is ideal for printing frame sizes or logos.
5.3 Mounting the Lenses

Mounting the lenses can be a delicate process, especially if the frames have a unique design. It’s important to follow the engineer’s instructions carefully to avoid damaging either the lenses or the frames. Workers are trained to ensure that this step is done with precision.
5.4 Making Final Adjustments
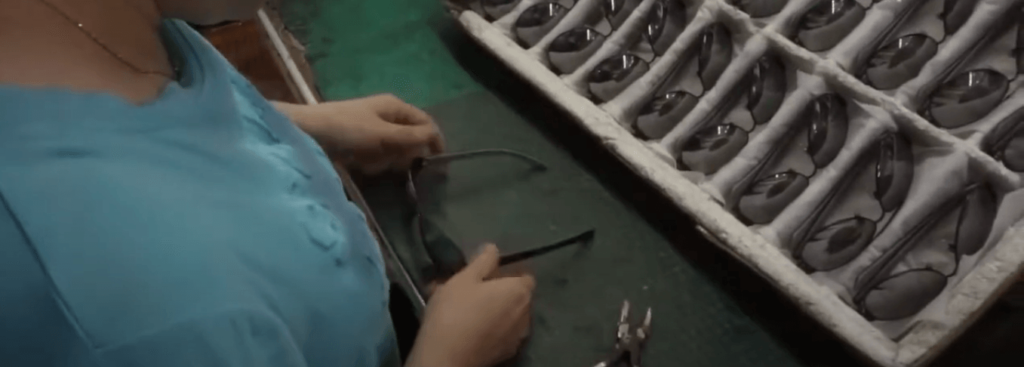
After the lenses are mounted, the frames need to be adjusted to match the engineer’s design exactly. Each endpoint of the open frame has to line up perfectly with the scale drawing, ensuring a comfortable fit and a balanced look.
5.5 Quality Control: The Last Check Before Delivery

Once everything is assembled, it’s time for a final quality check. This step is crucial because catching any defects before the frames leave the factory can save a lot of headaches down the line. Frames that don’t meet the required standards are sent back for rework, and if they can’t be fixed, they’re discarded.
5.6 Cleaning and Packaging: Ready for the World
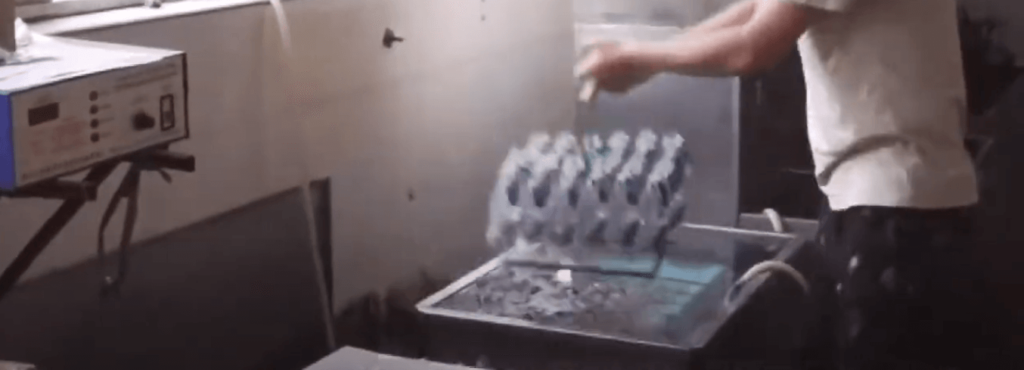
Frames that pass the final inspection go through an ultrasonic cleaning process to remove any fingerprints, oil stains, or dust. Workers wear white gloves during the packaging process to keep the frames clean and pristine.
The packaging process itself is pretty straightforward:
- Open the frame and put a protective sleeve on the front.
- Put a sleeve on the left temple (or right temple) and then close it.
- Close the right temple (or left temple), which doesn’t require a sleeve.
- Pack the closed frame inside a poly bag, then place the bag in a box for shipping.
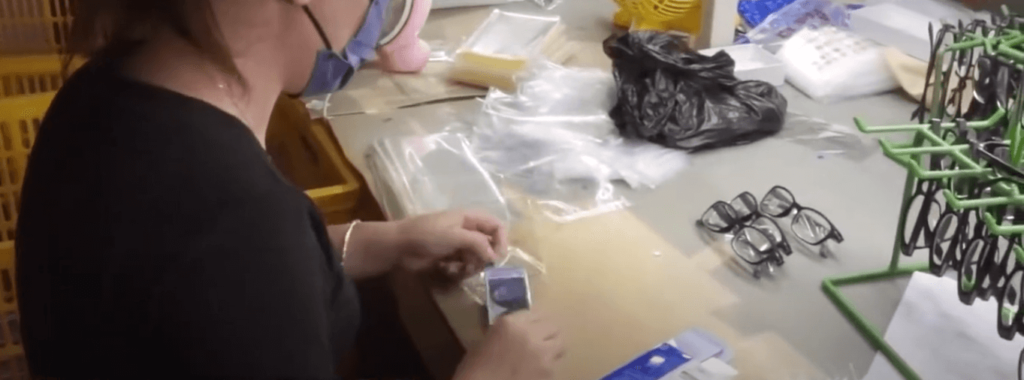
More and more buyers are requesting eco-friendly materials for sleeves and poly bags, and many factories are happy to accommodate this to help reduce environmental impact.
-
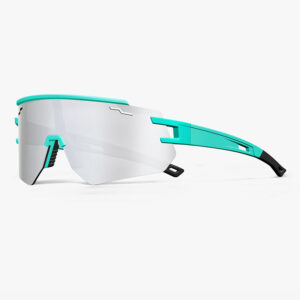
Bulk Wholesale Sports Sunglasses – JH142
$50.00 Select options This product has multiple variants. The options may be chosen on the product page -
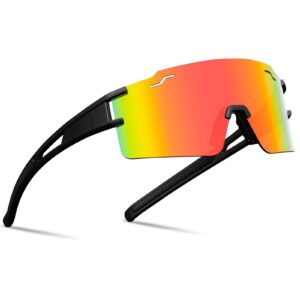
Buy Sports Sunglasses In Bulk – JH158
$50.00 Select options This product has multiple variants. The options may be chosen on the product page -

Sports Sunglasses Wholesale Suppliers – JH133
$50.00 Select options This product has multiple variants. The options may be chosen on the product page -
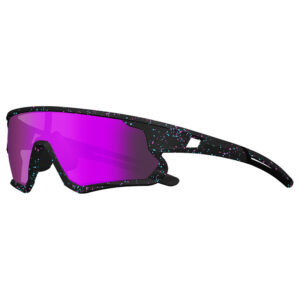
Wholesale Sports Sunglasses Distributor – JH129
$50.00 Select options This product has multiple variants. The options may be chosen on the product page
5.7 Customer Inspection: The Final Approval
The very last step before shipping is the customer’s inspection. Many buyers, especially those located far away, use third-party inspection companies to handle this. This is a common practice in the eyewear industry, and there are many reputable companies with experience in eyewear inspections.
Most inspections are done using AQL (Acceptable Quality Level) sampling, where a random sample of the batch is checked. However, if a buyer prefers a full inspection, they need to let the manufacturer know in advance so arrangements can be made.
Conclusion: Wrapping It All Up
So there you have it—a complete look at how plastic eyewear frames are made, from raw materials to finished products. Reorders usually take about 30 days to complete, but if you’re starting from scratch with new molds, the process can take up to 75 days.
Over the years, we’ve faced and overcome countless challenges in the eyewear industry. With more than 15 years of experience, we’ve learned how to handle the complexities of production and deliver high-quality injection eyewear that meets our clients’ expectations.
If you have any questions about the production process or are looking for a reliable manufacturer, don’t hesitate to reach out! Our team is here to help. And if you found this guide helpful, let us know—we’d love to hear your thoughts. Thanks for reading!
FAQ: How Plastic Eyewear Frames Are Made
1. What types of plastic are commonly used for making eyewear?
The most common plastics used in eyewear are TR (thermoplastic rubber), ABS (acrylonitrile butadiene styrene), and PC (polycarbonate). TR is great for kids’ frames, ABS is popular for sports eyewear, and PC is an economical choice often used for budget-friendly eyewear and safety goggles.
2. Why is the molding process so important in making plastic eyewear?
Molding is crucial because it determines the final shape and structure of the eyewear. The molds need to be precise, as any imperfections will directly affect the quality of the frames. Additionally, creating these molds is a significant investment, so it’s essential to get them right.
3. How does injection molding work in eyewear production?
Injection molding involves melting plastic pellets and injecting them into molds to form the frames. This process requires careful setup, including cleaning the system, installing the mold, and adjusting machine settings. It’s usually done in one continuous run to ensure efficiency and consistency.
4. What is the purpose of polishing the frames after injection molding?
Polishing removes any rough edges and marks left from the molding process. It also smooths out joint lines and prepares the frames for coloring. Polishing is done through tumbling and hand polishing to achieve a high-quality finish.
5. How are colors added to plastic eyewear frames?
Colors are added through spray painting, which allows for a wide range of color options and finishes. Before coloring, the frames are assembled, and metal parts like hinges are covered to keep their original color intact.
6. What steps are involved in the final packaging and inspection of plastic eyewear?
The final steps include cutting and mounting the lenses, adding details through silk printing, making final adjustments, and performing a quality check. The frames are then cleaned with ultrasonic waves, packaged using protective materials (often eco-friendly), and inspected by the customer or a third-party company.
7. How long does it take to produce plastic eyewear frames?
Reorders of plastic eyewear usually take about 30 days to complete. For new orders that require mold creation, the process can take up to 75 days.
8. What happens if the frames don’t pass the final quality inspection?
Frames that don’t meet the required standards are sent back for rework. If they can’t be fixed, they are discarded. The goal is to catch and address any issues before the frames reach the buyer or go on sale.
9. Can eco-friendly materials be used in the packaging process?
Yes, many buyers request eco-friendly materials for packaging, such as sleeves and poly bags, to reduce environmental impact. Factories are often willing to accommodate these requests.
10. What is AQL sampling in the context of customer inspection?
AQL (Acceptable Quality Level) sampling is a method used during the customer inspection process. It involves checking a random sample of the batch to ensure quality standards are met. If a full inspection is preferred, the customer needs to inform the manufacturer in advance.
Request a Free Quote
Wondering how to budget for your custom eyewear order?
Contact us to receive a tailored quote designed specifically for your eyewear needs!

